
Christmas STAR Ombré Tumbler Tutorial!
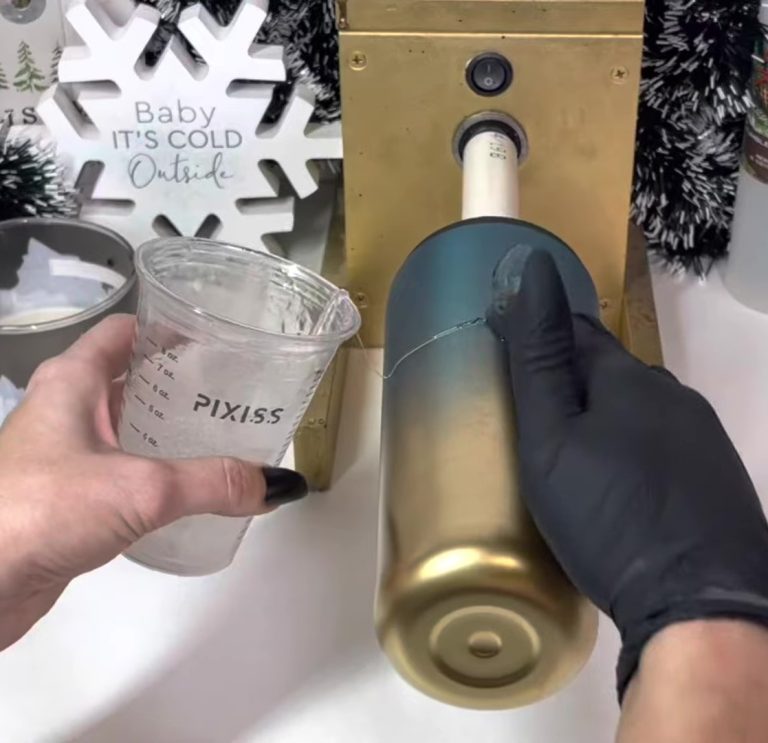
Hey, guys, Today we have this Christmas star tumbler. It's a simple one, but it is so stunning and elegant that I couldn't be happier with this cup. I had so much fun doing this. This one is very elegant and very festive without being too Christmassy. You could use it all year long, and I am so happy with how it turned out. It's just a very stunning color. It was $129.99 from TJ Max. So I removed the stickers and the lid and prepped this with mattify. Then I'm going to paint the bottom like a third, maybe a little more than a third, but I'm also going to angle it upwards.
We get that, like an ombre fade, and I find this is easy to do with metallic paints. So there's the rust-ileum silver one, as I don't know what it is about the spray paint, but it always looks so good. So whenever I do an ombre like this, I do my first layer of artistry, epoxy. So I took my vinyl and cut out this beautiful, Christmas-looking star. I'm not sure if there's a name for this type of star, but I just think of it as a Christmas star.


I'm doing the reverse of the routine where I'm taking the star part out because I'm going to use the outside lines to make our star on the cup, then use some transfer tape to transfer that to my cup, and this was the part that I messed up. I did this the second time because I had not done epoxy yet in Texas, which was way too humid. So my epoxy was not as cured as I thought it was, and when I took off the decal, it peeled off some of the epoxies.
I had to take off all the epoxy and start over. I measured the star to be the entire length of the cut-up, maybe like half an inch shorter. Still, I wanted it to be like a big star on the whole cup, so I mixed up some more epoxy, and I'm using New Dawn. It's one of my colors coming soon, and I added a little bit of filter in there as well, so I'm adding some of the epoxies to my glitter mix. I didn't want it to be too much, so I added a little at a time. So you get the right consistency, but you want it to be like chunky glitter. You don't want too much epoxy; you want it to be mainly glitter.
I started spreading the glitter mixture onto the star, pressing and patting it and ensuring it was thin enough. So we don't have any problems because this is still epoxy, and it can clump and move around if you're not, so just make sure it's thin and even, but yeah, just keep putting that on until you're happy with the glitter. So you can do this technique with mod podge or any other glue.


I really love how the glitter looks when I do this with the epoxy in there, and I wanted it to fade. So as it got to the middle, the middle was not as much glitter as the outsides. So I got out of frame by peeling off the vinyl to leave the star just as it is on the cut. But You can see it's just a nice clean line where the star is, so there were a couple of spots. So I needed to clean up this little chunky spot right here. So I pushed it and wiped it down.
Then I added a little bit more glitter to the center. But, again, I felt like it was a little too bare. So I added a little bit more, then I also saw it was getting a little chunky on the edge of the star, so I just took my stick and kind of pushed it back, but that's what you want to be careful of when doing something like this because your epoxy does want to self-level, and so what I did after that was just set it on my turner and let it hang upside down, so that way any of the excess epoxies would want to run towards the middle of the star and it wouldn't mess up the edges.
Once that was dry, I did two more layers of our artistry epoxy, and my cup was done, so I just took it off the turner and took the foam out, which I don't know what they're called, but for taking out your foam, you should get some. It's so much easier than trying to squeeze your hand in there and squeeze them out. It's so you should get some. It's so much easier than trying to squeeze your hand in there and squeeze them out.


So now for the packaging: I didn't have many ideas for this one, but I did find this little sparkly thing. I don't even know what these are, but they were a dollar at Hobby Lobby. I thought it would be cute, and also I found these pretty sparkly glitter gift bags at Hobby Lobby. They had a black one, so I thought a black bag would just look lovely with this kind of star-looking cup, so I just wrapped it in some black tissue paper, then just added some more for extra fluff, then added my little glitter stick I don't know, but it's cute. That's what it looks like. It was pretty straightforward, but thank you so much for watching. Bye, guys.
Related Posts

DiY Epoxy vs. Artistry Epoxy: What Happened to “Speedy Petey” and What’s the Best Epoxy for Tumblers & Art?

How Long Does It Take for Epoxy to Yellow (And How to Prevent or Fix It Like a Pro)

Top Reasons Why Your Epoxy Is Sticky and How to Avoid Them

Top 10 Epoxy Tumbler Ideas with Glitter, Pigments & More

How to Mix Epoxy Resin Like a Pro: The Ultimate Guide for Tumbler Artists & DIY Crafters

BRIDAL Tumbler Tutorial using Shape Tape Double sided adhesive sheets!
