EPOXY COUNTERTOP Tutorial with WALLPAPER!
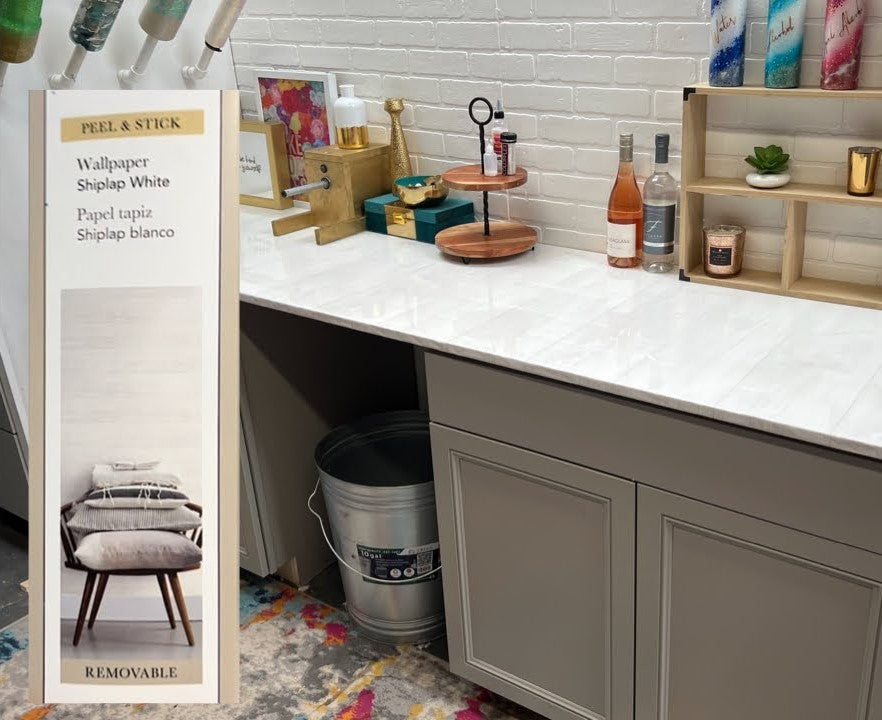
Hey, guys, so here is my messy countertop. I needed an upgrade. It was a piece of wood we painted, so I found this wallpaper. I believe it was from lowe's. It's just a kind of wood shiplap look. I wanted that it wasn't pure white, but it was still really light, so the first thing is to clean off my countertop.
You could use a new piece of wood, or if you're using something old, just give it a good sand and make sure there's nothing I've had. Then, it was time to put the wallpaper on there. Again, this was an excellent technique if you want to do something quick or easy if you're not into doing epoxy artwork or type of paint.


If you want something simple, you can do this with wrapping paper. You could do this with contact paper, shelf liner, or anything else. You can get so many different designs online. This is the one that I liked and found. Still, it's an excellent solution if you know you need to cover your surface with something. Still, you're not wanting to do a countertop look in the epoxy, if that makes sense, so we're just putting that on there, being careful with the edges wishing to line up straight.
We also wrapped it around the edges. If you want to take more time with it, go ahead and like round your edges, use a thicker piece of wood, or sometimes we've double-stacked the edges. Hence, you get a nice significant, thick edge on there, and then you can round it. You can do different designs or angles. I don't know what they call the edge of countertops, but you can make the edge look a lot better than we did. We were doing something pretty quick. We wanted to line up excellent and perfect in the second layer. You don't see a line, so you'll have to see a seam if it's something smaller like this wallpaper. I don't think wrapping paper is long enough to cover everything. Still, you get the idea. Line it up the best you can and stick it on there.


Now using our leveling feet to put underneath so that we can level out the whole Board and then cutting out this is like a little hole we made for my cords for turners and stuff. Still, you want to ensure your countertop is raised to have the epoxy drip off. It's not going to hook to anything. Make sure it is nice and level. You can have it slide off one side if it's not level. Hence, we used our artistry countertop epoxy for this. It's a one-to-one formula, so mix up that. If you need to know how much to use on your countertop, you can go to resincalculator.com. It gives you all the different measurements and amounts you'll need, Just spreading that out on the whole thing, this is one transparent layer we did.
If you're doing artwork in your epoxy, you're going to want to do more than this is just this technique of doing something underneath and then one layer on top to spread it out, get it on the edges. You're going to take a torch and go over the whole thing. This can't. This will get rid of any little bubbles in there because sometimes you get those little micro bubbles. This helps pop it, so you have a nice glassy surface. Then once that was cured, we sanded off the bottom quickly and then put it right back.


You guys can see it looks much better. Yes, our walls are not straight, and neither are the floors, but that's not what we're here for, so putting everything back on my counter, and I did this, I want to say, like a month or two ago. I have loved having this nice countertop. Instead of the wood, everything was sticking to it, glitter, epoxy, everything. Now I have a friendly, clean, beautiful workspace. I love it. If you guys need to do a quick redo of a countertop in your work area, this is a great fix. That is it for this video. Guys thank you so much for watching; I will see you at the next one. Bye.
OMBRÉ CHUNKY GLITTER LEOPARD TUMBLER!
NEON PINK TROPICAL SPLIT TUMBLER TUTORIAL!
Related Posts

DiY Epoxy vs. Artistry Epoxy: What Happened to “Speedy Petey” and What’s the Best Epoxy for Tumblers & Art?

How Long Does It Take for Epoxy to Yellow (And How to Prevent or Fix It Like a Pro)

Top Reasons Why Your Epoxy Is Sticky and How to Avoid Them

Top 10 Epoxy Tumbler Ideas with Glitter, Pigments & More

How to Mix Epoxy Resin Like a Pro: The Ultimate Guide for Tumbler Artists & DIY Crafters

BRIDAL Tumbler Tutorial using Shape Tape Double sided adhesive sheets!
