
NEON PINK TROPICAL SPLIT TUMBLER TUTORIAL!
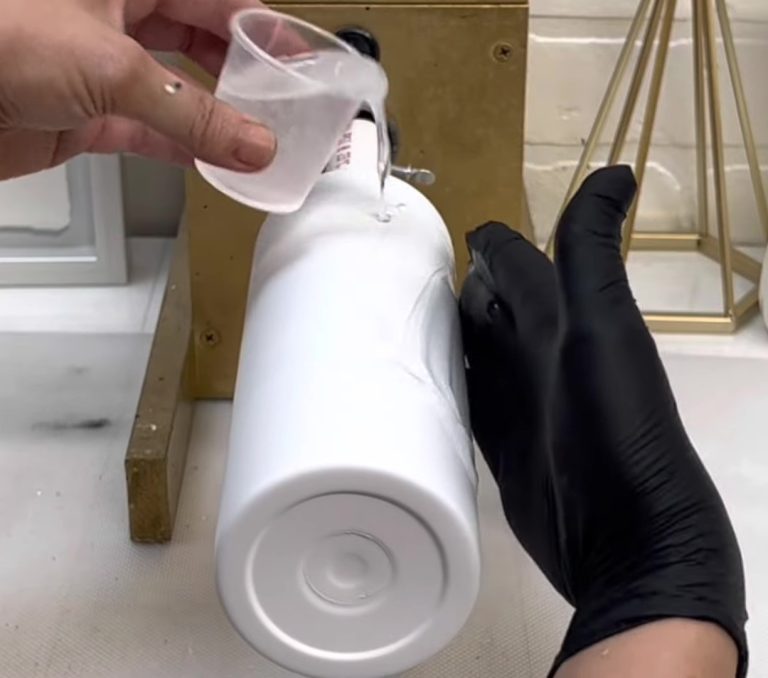
https://youtu.be/ejsgJkOE1XM Hey guys, I am starting with this stainless 20-ounce skinny cup. I already have it prepped. I spray painted it white this is flat white from rust-oleum, giving it a good coat of that white. There's nothing, so once that is dry, I'm just doing my first layer of epoxy. This is our artistry one-to-one fast set. It is thick and lovely. It's what I use every day—doing a nice layer of that spread it out smooth. Now I'm just going to tape off a section at the bottom. I wanted to do a split cup, so using some tape, you can do whatever method you like using some tape. I have a unique tool on the way to me that will make this even more accessible. I'm excited about that but just taping off what I want to paint. This is some neon pink paint we are testing out. It's our color fix in a neon form. I'm not completely happy with the formula yet. We're still playing around with it, but I wanted to do this video. I had an excellent idea, and I would always suggest if you're doing any bright or neon paint that you do a layer of epoxy in between because if I went on top of my spray paint with this a lot of times, it seeps into the layer underneath and it doesn't work.

 So if you give it a layer of epoxy in there, your paint is going directly on the epoxy, giving it a nice layer to not interfere with the other paint beneath it. So I went on with a second layer, then I went ahead and just peeled off the tape while it was wet, so I didn't have any issues later. I did have a little spot where the tape was not on very well. So I had to clean that up, but other than that, it did a pretty good job. Once that was dry, I'm going to put some of that pink neon paint in one of these little needle bottles. I'm using this little mix that I made up. It will probably be available not this following coming collection but the one after that. You'll paint this on, and I'm sure you've all seen this technique before, using either a needle or a paintbrush. m obsessed with this glitter. It's like this beautiful chunky pinky gold. I'm excited about it.


 Now tapping off the excess, and there's that color. I'm going to go in with these two pink shades. I have a bunch in my collection to play around with. I thought these two colors were so bright and vibrant pink, but it would just look lovely with this cup, so any pinks you have would work, and that's what it's looking like. I sealed that with clear spray paint and then my next layer of epoxy. I did the white section first, just in case I moved any glitter. I always like to do that even though I do seal it extra carefully because I hate picking off little random pieces of glitter once that is dry. I cut out these little palm leaf situations; I'm not sure what plant that is, but it's very tropical and summery, and I love them. I did a couple of different designs and cut out a couple of extras. I'm going to randomly place those around the cup's bottom here and there: nothing too perfect, nothing too straight, and even you guys know how I like things. I will go ahead and put all these on where I see fit. I wanted to add a couple extending past the pink if there were if that makes sense. I cut the top and then placed them right on the edge there. That's what it looked like when I was done.


I wanted to do a little gold stripe between the pink and white you could use nail tape or any striping tape. This is just vinyl. I used a paper cutter to cut a fragile piece. I thought it would finish off the look, even if your line is not perfect. It covers it up, so I did two more layers of the fast set to finish off this cup, then just put back the lid, and this is how it turned out. This is precisely how I pictured it in my mind. I love how bright it is and how the black and white contrast is. I love this cup so much. Thank you, guys, for watching. I will see you guys in the next one. Bye.
EPOXY COUNTERTOP Tutorial with WALLPAPER!
DOUBLE SIDED ADHESIVE SHEETS and FOIL Tumbler Tutorial using SHAPE TAPE!
Related Posts

DiY Epoxy vs. Artistry Epoxy: What Happened to “Speedy Petey” and What’s the Best Epoxy for Tumblers & Art?

How Long Does It Take for Epoxy to Yellow (And How to Prevent or Fix It Like a Pro)

Top Reasons Why Your Epoxy Is Sticky and How to Avoid Them

Top 10 Epoxy Tumbler Ideas with Glitter, Pigments & More

How to Mix Epoxy Resin Like a Pro: The Ultimate Guide for Tumbler Artists & DIY Crafters

BRIDAL Tumbler Tutorial using Shape Tape Double sided adhesive sheets!
