
TROPICAL PARADISE GLITTER TUMBLER MUG TUTORIAL!
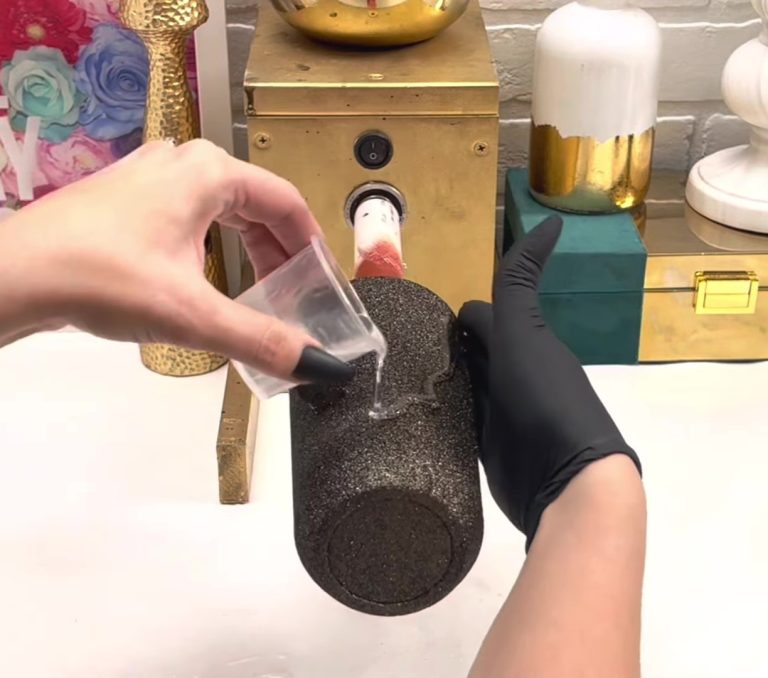
Hey, guys, I am starting with this stainless mug I got from Ross. It was 11.99. Now taking the black colorflex paint, I will do one coat and go over it with my glitter, taking the black color fixed paint. Black is slightly less pigmented than some other colors if you want pure black. Not to do glitter on top. You would do two coats. Just do one coat, let it dry, and do the second. Still, since we're going over glitter, I didn't need to do a second coat. This is this beautiful deep green glitter from my tropical rainforest collection. It is coming soon. It's got so many bright, beautiful colors. Still, this one is so beautiful I just can't. It's so gorgeous, doing full coverage with this glitter.
And you can see how the color fix paint just grips on and holds onto that glitter. There's no reason to use mod podge, epoxy, or anything to adhere to the glitter. It's painted and glitter all in one step, which makes it so simple. If you realize you missed any spots. Take your paintbrush, go right back over, and add more glitter. Simple to clean it up. If you did miss any sites, there is our perfect full-coverage cup. I let that dry I did seal it with clear spray paint, then went on with my first layer of the artistry fast set one to one one to one fast set. Why did I say it backward? Still, you get it. Just evenly distribute the epoxy on there.


Make sure to get well around the handle and make sure there are no globs around the handle. Then, I did another coat to make it nice, shiny, smooth, and smooth so we could add our next step. So for this one, I just wanted to do a triangle on the side, using masking tape to tape it off and then coming at the other angle with the other one.
Then take the coral island color, and fix the paint. I am in love with this color. Using a makeup brush to put this on it makes it go on nice and smooth. I did two coats of this to have a lovely bright color in the morning and come at night. Always on edge, I let that dry, and I'm going on with a second coat since I will have this color show. I wanted to be nice to full coverage, so then again. At the same time, it's still wet using golden hour, this beautiful kind of golden with iridescent and holographic pops and a chunky mix, and I'm going to coat the top and then angle it down. Hence, we get that kind of ombre effect. Then while it was still wet, I peeled the tape off—no need to wait for it to dry.


I also wiped off any glitter sticking up on the rim so that we don't have anything sticking up that we have to deal with later. It's easier to do it now than I sealed it with the clear spray paint, probably a good like three times. I did not want that chunky glitter to budge. Then, I cut out my decals with another layer of facet epoxy. I did tropical paradise in this kind of rose gold coppery color, then weed out the vinyl. I also have this cute little palm tree and sun decal. These were all on the over an app, I believe. I also cut it out in an offset in Black, then used some tape to transfer it.
Then we're going to stack the vinyl before we put it on the cup. It's way easier to do before. Then I cut the words separately because I wanted the tropical to be more on top of paradise than it was. I cut them apart and placed them individually. Then I added my little tree and sun, and one more coat of epoxy to finish this tropical cup.


Then I added the lid. I found these beautiful silicone straws on amazon. I got some little umbrellas to add to the tropical theme. I chose the bright green one and this kind of corally pink umbrella. Who doesn't love these little drink umbrellas? They're the cutest thing Ever. Now I have a whole box of them. I think that adds the cutest little touch, perfect for a gift or if you're doing something for a party, this is how my tropical cup turned out.
Let me know what you guys think. Thank you, guys, for watching. I will see you at the next one bye.
OMBRÉ POWERWASH Lake Life Tumbler Tutorial!
COW PRINT TUMBLER using ALCOHOL INK and GLITTER!
Related Posts

DiY Epoxy vs. Artistry Epoxy: What Happened to “Speedy Petey” and What’s the Best Epoxy for Tumblers & Art?

How Long Does It Take for Epoxy to Yellow (And How to Prevent or Fix It Like a Pro)

Top Reasons Why Your Epoxy Is Sticky and How to Avoid Them

Top 10 Epoxy Tumbler Ideas with Glitter, Pigments & More

How to Mix Epoxy Resin Like a Pro: The Ultimate Guide for Tumbler Artists & DIY Crafters

BRIDAL Tumbler Tutorial using Shape Tape Double sided adhesive sheets!
