
CHRISTMAS MINT MUG Tumbler Tutorial!
Hey, guys, Today we have this adorable little mint mug. This pearly mint says Merry Christmas and has a glittered deer on the back. How cute is that? I think there's something about mugs, especially epoxied mugs, that I adore. They're cute and fun, and I thought this little mint color was festive and lovely.
Let's get into the tutorial if you want to see how I made this mug. I came across this adorable little mug. I've used this kind before and love its shape, but I got it at T.J. I got it at Maxx for 12.99. I took off the lid and the stickers and used mattify to prep my cup for paint. I found this paint, the closest one to the mint shade I wanted, but I forgot to take the little black rubber thing off the bottom.
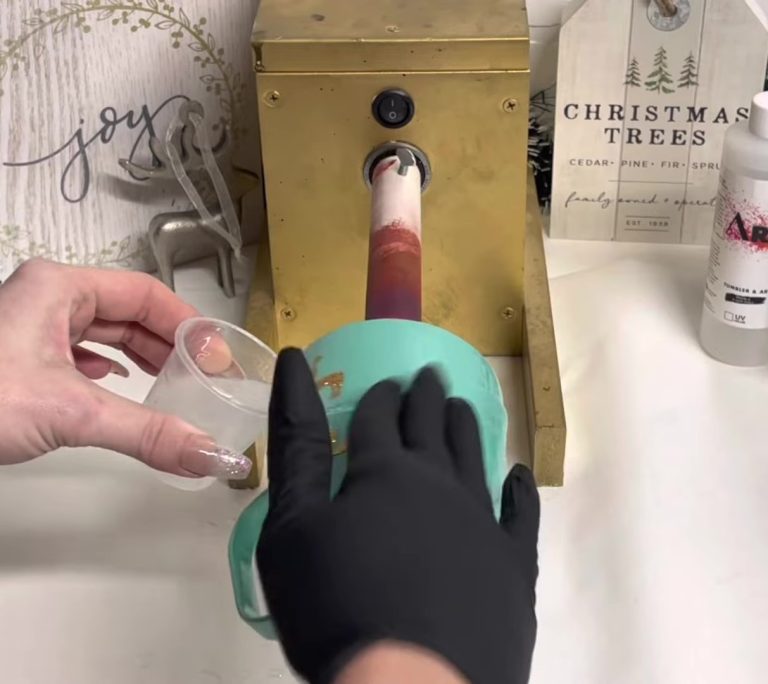
I ended up taking it back off later and repainting it, but you get the point. It wasn't mint. I had this vision of something like a pearlescent mint shade. So I'm making an alcohol ink, I guess you could say, out of this pearlescent with like a green shift mica powder and my alcohol. I'm mixing that to form a paste, a thin paste. I guess you could say that taking a little foam brush and this technique you can use with any of these, like pearlescent mica powders on top of any color, will give you a different look every time, but look how beautiful that turns out.


I was obsessed. I did not think it would look as good as it does. I'm unsure if there's something you could use that would make it a little bit smoother. It ended up pretty smooth, but there were a few spots where I could see little brush strokes. I'm not sure if you know if there's another sponge or brush that would work better for this, but this worked pretty well. I love the shine. It's pretty. You're going to want to clear spray that several times over. I think I ended up spraying it three times to seal it there. This is because when we go in with epoxy, it won't move.
Now I am doing my artistry in epoxy. Once that was dry, I cut out these cute little deer. I was initially going to do the whole cup with these little deer, but I decided since my silhouette machine was not working. I had to get these cups done, these little deer were taking too long, and they were not being cut out well. I did the design on the back, but I cut these out and laid them on my cup with clear transfer tape. I applied four little deer on the band and took my mod podge and a little paintbrush.


I took a paintbrush and globbed it on there. You want a decent amount that your glitter sticks, but you don't want too much that it runs. It's tricky to get the right amount. I'm using the small cut, sprinkling that on there while the vinyl was still on, and peeling it off, and I felt like it took a lot of the glitter off anyways. So I put more glitter on this. I decided to try doing the mod podge and peel off the I think if I had used the epoxy method with this as I did with the Christmas star in yesterday's video, it would have worked much better. It probably would have held the glitter on the cup much better than the mod podge.
I kept going with my four little deer, which looked like a mess, but I didn't want to touch the area around the deer to clean off the glitter. You want to leave it. Christmas decal, I thought it was gorgeous, and it matched the style of the cup, I got this little decal, and the leaves and everything on the Canva app were already like this. If you haven't checked out Canva, check it out. They have much cool stuff on there. I transferred that to my cup and pressed it. Because my deer wasn't perfect, I decided to clean them up and add a bit more glitter with a small paintbrush and mod podge. It was mainly the antlers and the legs.
I carefully added a bit more and thought they turned out okay, but as I said, doing this with epoxy would have worked a million times better. This is because I got these little stickers after cleaning up the deer, which were dry. I think they're from Michael's, but I don't remember, but these little stickers are fantastic. I have them in silver, and they're cute and easy to use. I decided to put a couple of them in between all the little deer on the front, and this gold is slightly different than the gold I used, but it still looked nice. So after that, I added two more layers of the artistry epoxy to finish off my little deer.


Once I did it, I took it off the turner and put the lid back on, and here it is all done. I can't get over how beautiful the mica powder on there is. I mean, the possibilities with this are endless. You could put this on like any shimmery mica powder. You can do this on any color of paint, which will look much better than flat paint. Now to package this, I wanted to use a gift box. I found this one at Hobby Lobby for $3.99. Next, I found these cute little chocolates that match the theme perfectly and this ring, which is freaking adorable. I kept this ring because I love it, but it fits the little mint theme. Finally, I found this tinsel garland, which was only 1.99, but I thought it would look pretty in this box with this cup.
I did this to where it's like an unrestricted gift, but you could put everything inside and put the lid back on, using tissue paper on the bottom to give us height and make sure everything doesn't fall too far to the bottom, adding our little tinsel. I thought it would be cute to put the chocolates and the ring inside the cup. So I left the lid off and stacked them inside, adding more tissue paper on the sides to make it look a little more full and fluffy, which is how it turned out. I love matching colors, like this mint and gold theme. Make sure you stay tuned for tomorrow. Thank you, guys. Bye.
Related Posts

DiY Epoxy vs. Artistry Epoxy: What Happened to “Speedy Petey” and What’s the Best Epoxy for Tumblers & Art?

How Long Does It Take for Epoxy to Yellow (And How to Prevent or Fix It Like a Pro)

Top Reasons Why Your Epoxy Is Sticky and How to Avoid Them

Top 10 Epoxy Tumbler Ideas with Glitter, Pigments & More

How to Mix Epoxy Resin Like a Pro: The Ultimate Guide for Tumbler Artists & DIY Crafters

BRIDAL Tumbler Tutorial using Shape Tape Double sided adhesive sheets!
