COPPER AND BLUES Glitter and Foil Flakes Tumbler Tutorial! Day 3rd of 10 Days of Fall!
https://youtu.be/EQGsoDJ806U
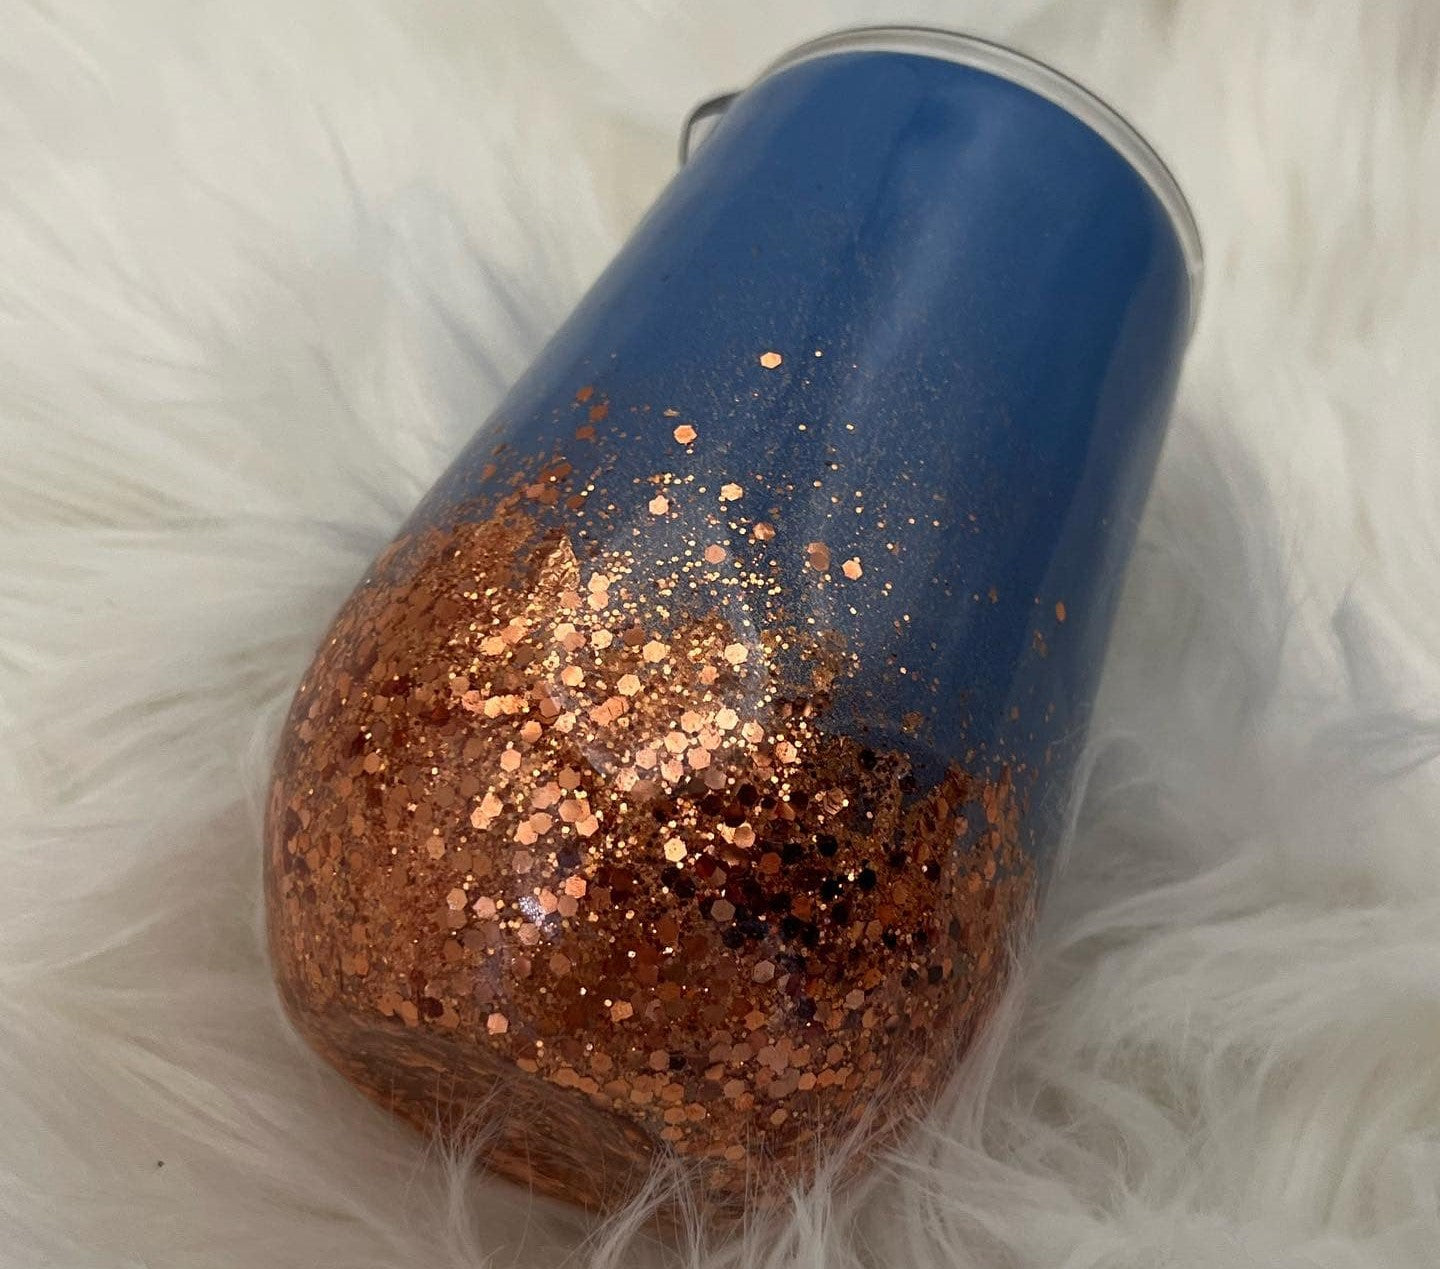
Hey, guys, welcome to day third of my 10 days of fall. Today's tutorial is on this little guy, this blue and copper stemless wine glass. I thought it just turned out pretty. I love copper and blue together, especially for fall, but I like how it sparkles with all the different copper colors. I got going on here. I just it's simple, but it's beautiful, and I love it, especially for fall. I am doing a giveaway on the glitter and stuff that I used and the epoxy, so check out how to enter the giveaway in the description box below. Don't forget to come back for day four tomorrow, and let's get into the tutorial, starting with the stemless wine glass. This one came from Costco and is a set of four for a pretty good price.
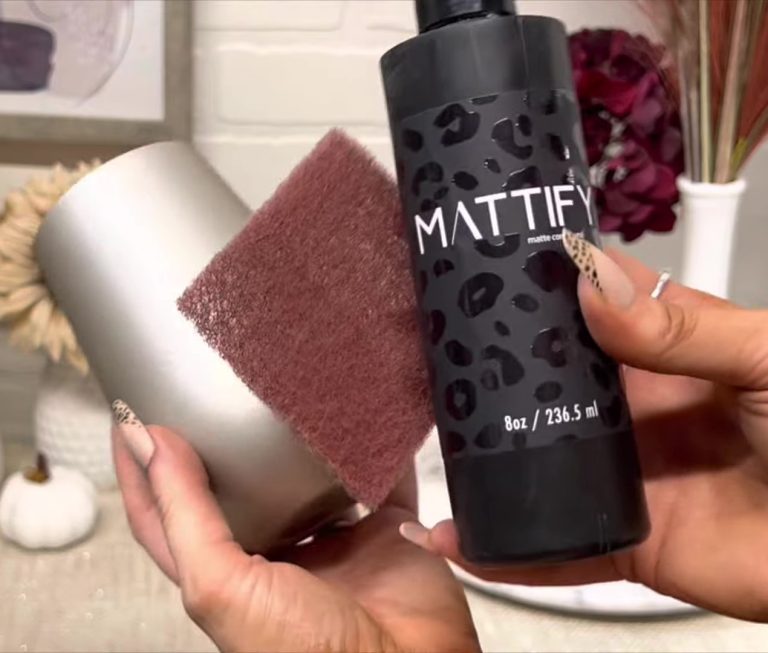
Taking off the little rubber at the bottom and then prepping with mattify now, I'm going to use the wildflower blue spray paint from rust-oleum. This color is gorgeous, such a great color for fall, so just doing a full coverage on the cup, taking this rust-oleum aged copper spray paint, I'm going to paint the bottom but angle it upwards. So you get that ombre effect just slightly so that you can see the little Speckles. I just wanted a little bit of this to show but still full coverage at the bottom.

 After it was dry, I took some glitter glue. Some rose gold foil flakes take glitter glue and spread it with my finger, so we almost want to cover up all of the spray paint but not entirely, especially not where it fades up the side. We want a little bit of that to show through, so I took the foil flakes and sprinkled them on. They're very light and fluffy. They kind of want to float around in the air. This worked a lot better than I thought it would take. It kind of stuck on there, and then I just used my hand to pat it down and stick it down, but it's not full coverage. You can see a little bit of that copper paint peeking through.
I kept adding a little more. I wanted it to go up a bit on the cup. I love how much texture the foil flakes add texture. It's not a smooth shine, but it gives it a lot of reflective shine and texture.
After it was dry, I took some glitter glue. Some rose gold foil flakes take glitter glue and spread it with my finger, so we almost want to cover up all of the spray paint but not entirely, especially not where it fades up the side. We want a little bit of that to show through, so I took the foil flakes and sprinkled them on. They're very light and fluffy. They kind of want to float around in the air. This worked a lot better than I thought it would take. It kind of stuck on there, and then I just used my hand to pat it down and stick it down, but it's not full coverage. You can see a little bit of that copper paint peeking through.
I kept adding a little more. I wanted it to go up a bit on the cup. I love how much texture the foil flakes add texture. It's not a smooth shine, but it gives it a lot of reflective shine and texture.


 I let that dry, then we're going in with addicts' chunky glitter, and I did more glitter glue on top. This will seal the foil flakes and give us something for the glitter to stick to, so I just rubbed that on, and I made sure to push the glitter glue up a little bit further because I wanted a little sparkle up onto the cup. I'm sprinkling this very lightly. I do not want full coverage of glitter; I don't want to cover up all of the foil flakes.
I just want to add a bunch of sparkle to it, so just sprinkling that on, and then I slightly angle it and let it fall up the cup, but I'm still doing very gentle, very light this could get quickly. So be very light-handed when doing this part but look at that sparkle. I just patted it down a little bit to get rid of all the chunky ones sticking out. I let that dry and sealed it with some spray paint. Then I did three layers of facet epoxy.
I let that dry, then we're going in with addicts' chunky glitter, and I did more glitter glue on top. This will seal the foil flakes and give us something for the glitter to stick to, so I just rubbed that on, and I made sure to push the glitter glue up a little bit further because I wanted a little sparkle up onto the cup. I'm sprinkling this very lightly. I do not want full coverage of glitter; I don't want to cover up all of the foil flakes.
I just want to add a bunch of sparkle to it, so just sprinkling that on, and then I slightly angle it and let it fall up the cup, but I'm still doing very gentle, very light this could get quickly. So be very light-handed when doing this part but look at that sparkle. I just patted it down a little bit to get rid of all the chunky ones sticking out. I let that dry and sealed it with some spray paint. Then I did three layers of facet epoxy.


 Then once I did that just took it off and replaced the lid. You could add a decal to this. I love the look by itself. I think it's so beautiful. It's eye-catching, and color combinations are fantastic. So for fall, that's it. Thank you for watching. I'll see you at the next tutorial. Bye guys!
After it was dry, I took some glitter glue. Some rose gold foil flakes take glitter glue and spread it with my finger, so we almost want to cover up all of the spray paint but not entirely, especially not where it fades up the side. We want a little bit of that to show through, so I took the foil flakes and sprinkled them on. They're very light and fluffy. They kind of want to float around in the air. This worked a lot better than I thought it would take. It kind of stuck on there, and then I just used my hand to pat it down and stick it down, but it's not full coverage. You can see a little bit of that copper paint peeking through.
I kept adding a little more. I wanted it to go up a bit on the cup. I love how much texture the foil flakes add texture. It's not a smooth shine, but it gives it a lot of reflective shine and texture.
I let that dry, then we're going in with addicts' chunky glitter, and I did more glitter glue on top. This will seal the foil flakes and give us something for the glitter to stick to, so I just rubbed that on, and I made sure to push the glitter glue up a little bit further because I wanted a little sparkle up onto the cup. I'm sprinkling this very lightly. I do not want full coverage of glitter; I don't want to cover up all of the foil flakes.
I just want to add a bunch of sparkle to it, so just sprinkling that on, and then I slightly angle it and let it fall up the cup, but I'm still doing very gentle, very light this could get quickly. So be very light-handed when doing this part but look at that sparkle. I just patted it down a little bit to get rid of all the chunky ones sticking out. I let that dry and sealed it with some spray paint. Then I did three layers of facet epoxy.
Then once I did that just took it off and replaced the lid. You could add a decal to this. I love the look by itself. I think it's so beautiful. It's eye-catching, and color combinations are fantastic. So for fall, that's it. Thank you for watching. I'll see you at the next tutorial. Bye guys!
Previous post
ALCOHOL INK BARNWOOD Tumbler Tutorial! Day 2 of 10 Days of Fall!
Next post
INVERTED SPLIT Hello Fall Tumbler Tutorial! Day 4 of 10 Days of Fall!
Related Posts

DiY Epoxy vs. Artistry Epoxy: What Happened to “Speedy Petey” and What’s the Best Epoxy for Tumblers & Art?
Why You Can’t Find “Speedy Petey” & What Replaced It If you’ve been Googling “Speedy Petey epoxy” and coming up empty, here’s the short...
Nov 06 2025

How Long Does It Take for Epoxy to Yellow (And How to Prevent or Fix It Like a Pro)
How Long Before Epoxy Resin Turns Yellow? One of the most common questions in the epoxy art and crafts world is: “How long before...
Jul 08 2025

Top Reasons Why Your Epoxy Is Sticky and How to Avoid Them
Whether you're designing a sparkling glitter tumbler, pouring a stunning river table, or experimenting with colorful resin art, few things are more disappointing than...
Jun 30 2025

Top 10 Epoxy Tumbler Ideas with Glitter, Pigments & More
Crafting epoxy tumblers is one of the most exciting and rewarding trends in the DIY world. Whether you're making a custom tumbler for personal...
Jun 25 2025

How to Mix Epoxy Resin Like a Pro: The Ultimate Guide for Tumbler Artists & DIY Crafters
Epoxy resin is a total game-changer for DIY crafters—especially tumbler makers who love that smooth, glass-like finish. But even the most creative designs can...
Jun 22 2025

BRIDAL Tumbler Tutorial using Shape Tape Double sided adhesive sheets!
Today, we're diving into a fun DIY project: creating a beautiful bride cup using a few of our favorite products, including shape tape, epoxy,...
May 17 2024

Is Artistry Epoxy good?
In the realm of DIY projects, home renovations, and artistic endeavors, epoxy resin has emerged as a versatile and captivating medium. Among the myriad...
Mar 27 2024