FALL BRIDE BLUSH MATTE FINISH Tumbler Tutorial! Day 6 of 10 Days of Fall!
https://youtu.be/2W4LMKxtAmY
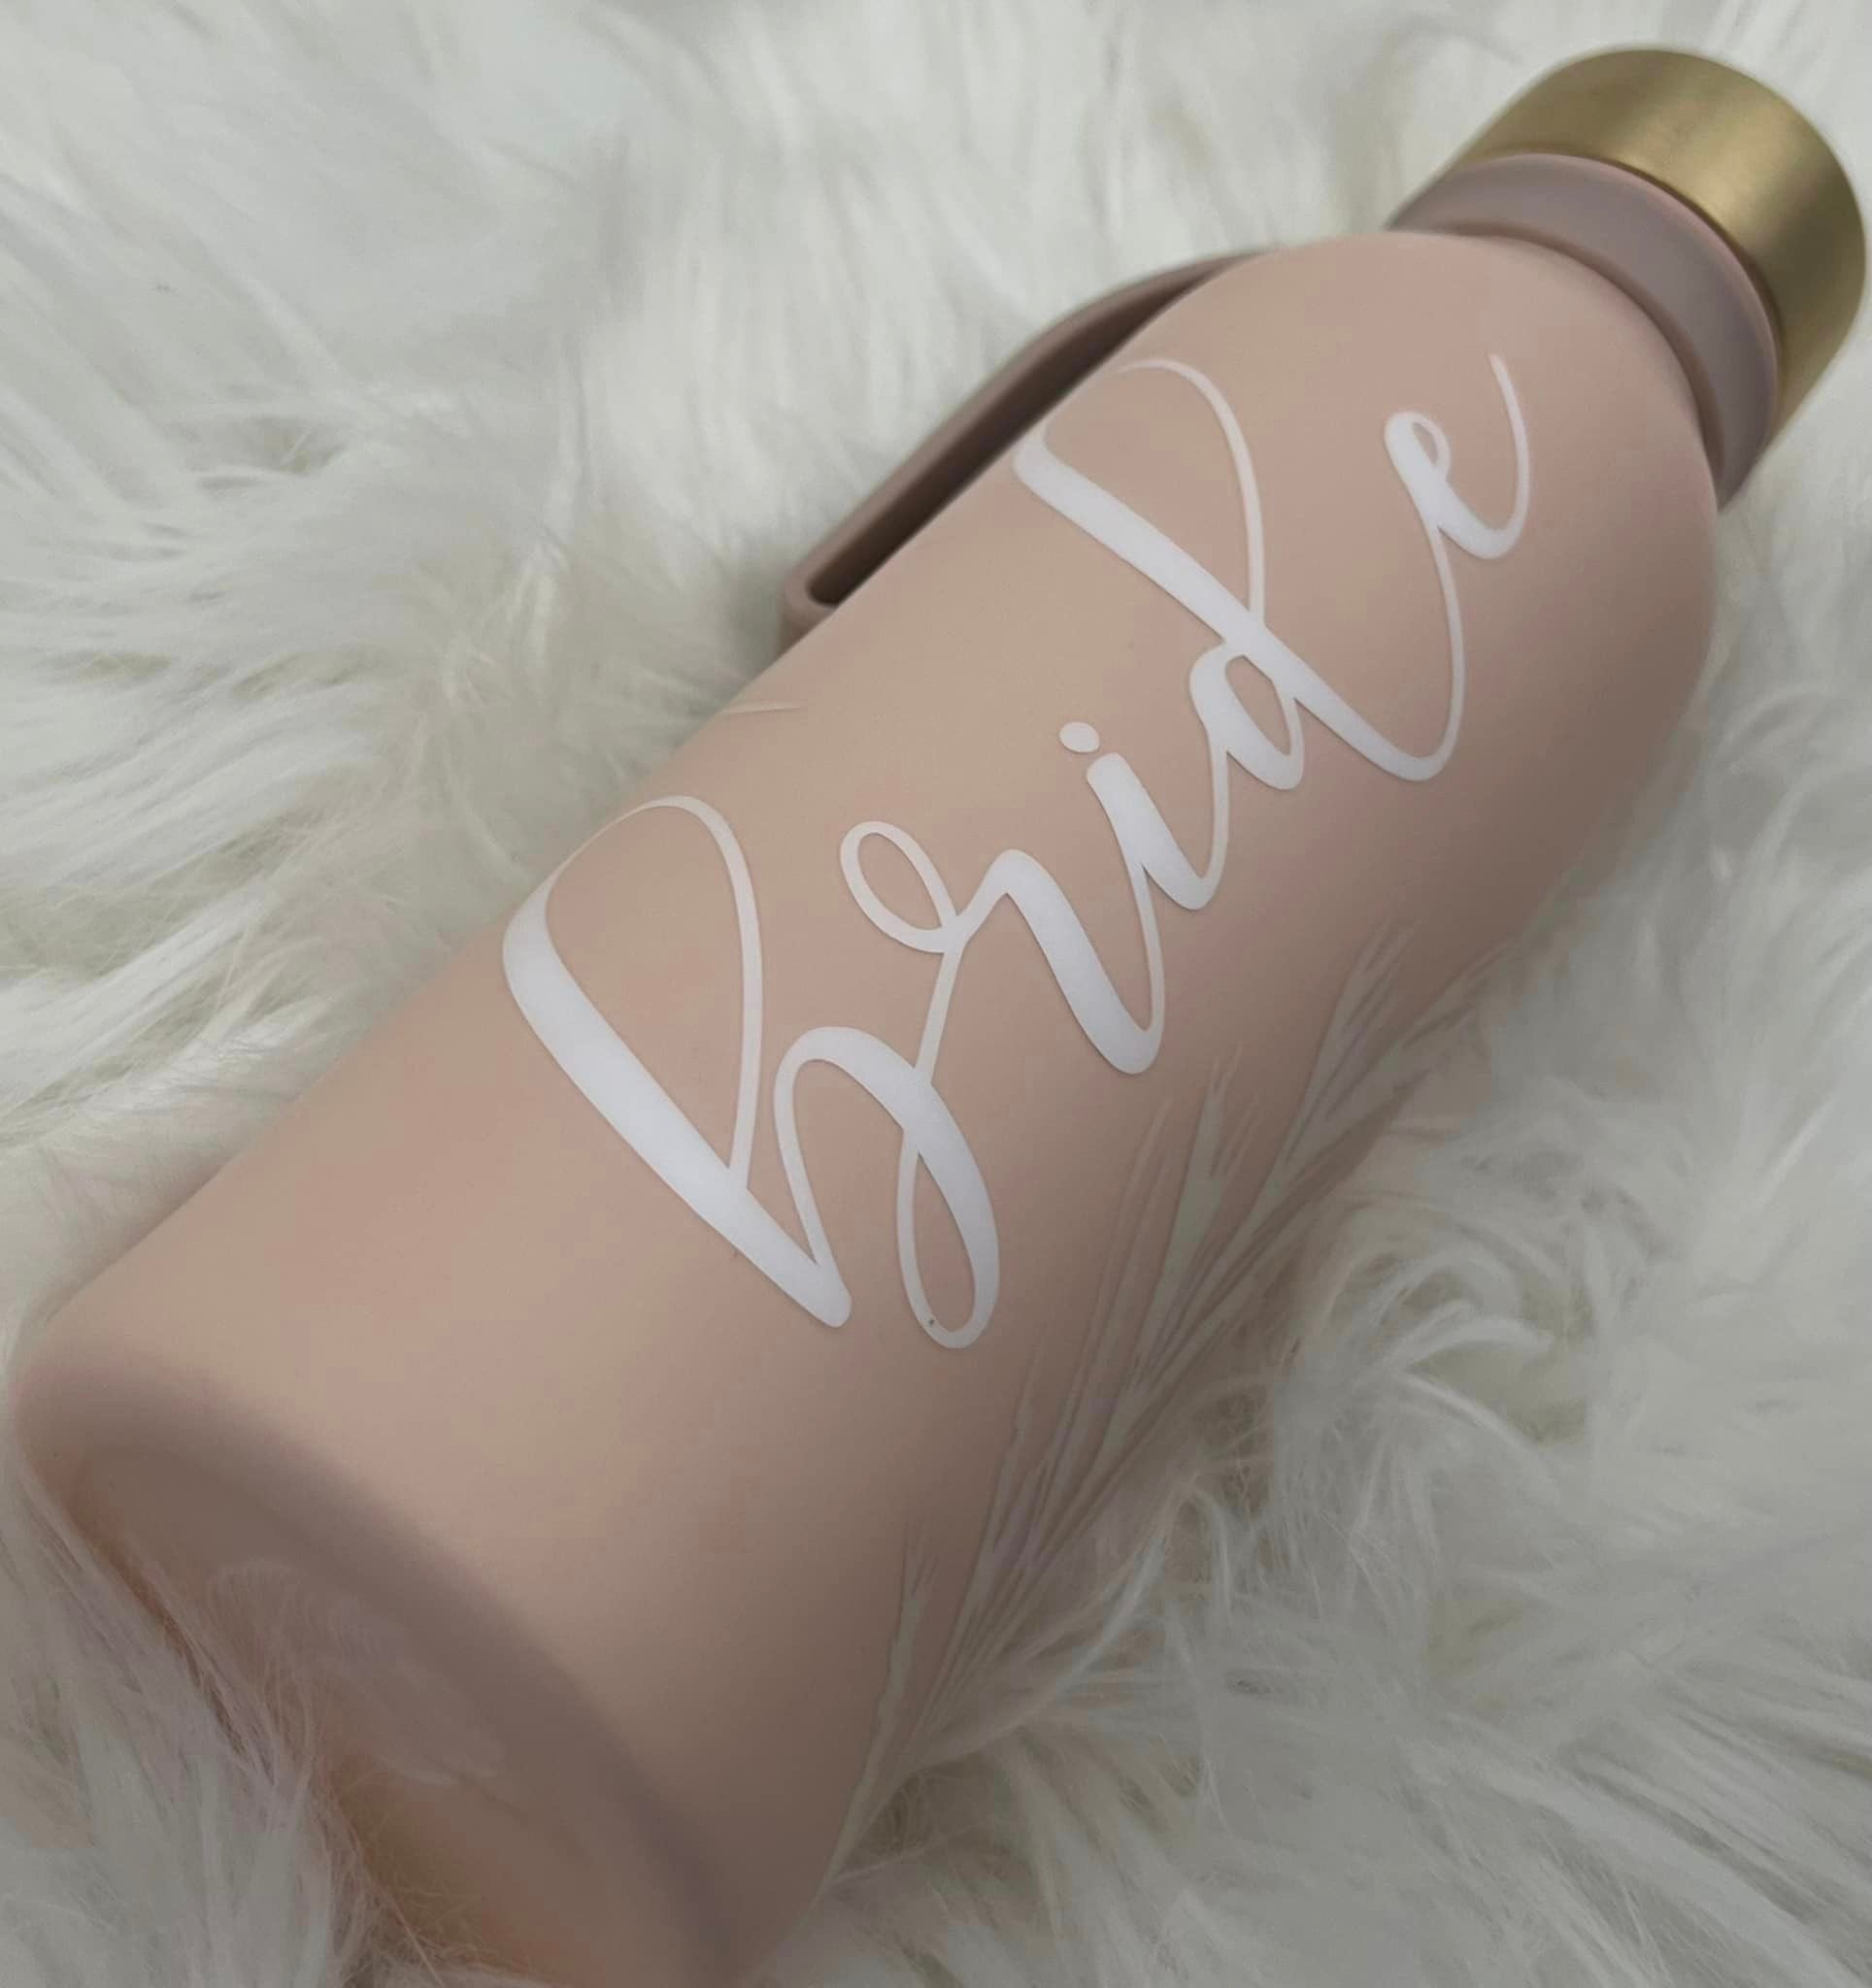
Hello everyone, welcome to day six of my ten days of fall. So today's tutorial is one for all of your fall brides. I think fall weddings are so beautiful. I didn't have one, but I just love the colors, and there's something about fall weddings that I'm obsessed with. So first and foremost, the cup itself is just stunning with the gold lid and the kind of dusty pink color strap. I'm giving away the paint I used for this and the epoxy to go with it, so check out the details below for the giveaway, and don't forget to come back tomorrow for day seven.


 All right, let's get into the tutorial. I'm starting with this Hydro pure tall water bottle style of 20 ounces. These are from Target. They have a couple of different colors. I think they have black and maybe navy, but I love them. I believe they are such a great style and wildly different, and I love the gold lid so much that I'm going in with color-fast naked paint. I thought it would be perfect for a bride, so I'm just using one of our large brushes to apply it. It's just a fluffy makeup brush and gives you the smoothest application. Thank you.
I did a second paint coat so we would have 100 Pure Color. No spots are showing through. Then I went on with my Artistry one-to-one fast-set epoxy for our first layer of epoxy. Then I cut out some vinyl. I just did the bride and white and some pompous grass in this pearl final. It is so pretty. It's from Michael's. I don't remember what brand it is, but it's just called Pearl. It's gorgeous right now, so just put the bride on there, and you could just use any font. I think I did this on an app, but I wanted something kind of cursive and pretty without being too much, and it's a little more like handwriting-Esque.
All right, let's get into the tutorial. I'm starting with this Hydro pure tall water bottle style of 20 ounces. These are from Target. They have a couple of different colors. I think they have black and maybe navy, but I love them. I believe they are such a great style and wildly different, and I love the gold lid so much that I'm going in with color-fast naked paint. I thought it would be perfect for a bride, so I'm just using one of our large brushes to apply it. It's just a fluffy makeup brush and gives you the smoothest application. Thank you.
I did a second paint coat so we would have 100 Pure Color. No spots are showing through. Then I went on with my Artistry one-to-one fast-set epoxy for our first layer of epoxy. Then I cut out some vinyl. I just did the bride and white and some pompous grass in this pearl final. It is so pretty. It's from Michael's. I don't remember what brand it is, but it's just called Pearl. It's gorgeous right now, so just put the bride on there, and you could just use any font. I think I did this on an app, but I wanted something kind of cursive and pretty without being too much, and it's a little more like handwriting-Esque.


 If you will, I'm just putting that on the side and making sure it went all the way to the bottom and the pompous grass vinyl. It took forever to cut out, and I was nervous. I was like, "Is this going to work?" But it worked. It cuts it out nicely, and it's beautiful. So yeah, I was so pleased with how it came out, I did another one on the top, and then, because it didn't go all the way to the top rim, I added another little piece of a cup like this light-colored.


 This is so easy, you barely have to do anything, and they turn out. But this was super easy, and it turned out beautifully in a matte finish. You can see as it dries, it's completely flat, and this is how it turned out. I am in love with this cup. It is pretty simple but also stunning, and I just love it. I love the colors, the style, and the gold lid. It all came together beautifully, and I hope you guys liked it. Don't forget to check out all my other fall videos, and I will see you at the next one. Bye.
All right, let's get into the tutorial. I'm starting with this Hydro pure tall water bottle style of 20 ounces. These are from Target. They have a couple of different colors. I think they have black and maybe navy, but I love them. I believe they are such a great style and wildly different, and I love the gold lid so much that I'm going in with color-fast naked paint. I thought it would be perfect for a bride, so I'm just using one of our large brushes to apply it. It's just a fluffy makeup brush and gives you the smoothest application. Thank you.
I did a second paint coat so we would have 100 Pure Color. No spots are showing through. Then I went on with my Artistry one-to-one fast-set epoxy for our first layer of epoxy. Then I cut out some vinyl. I just did the bride and white and some pompous grass in this pearl final. It is so pretty. It's from Michael's. I don't remember what brand it is, but it's just called Pearl. It's gorgeous right now, so just put the bride on there, and you could just use any font. I think I did this on an app, but I wanted something kind of cursive and pretty without being too much, and it's a little more like handwriting-Esque.
If you will, I'm just putting that on the side and making sure it went all the way to the bottom and the pompous grass vinyl. It took forever to cut out, and I was nervous. I was like, "Is this going to work?" But it worked. It cuts it out nicely, and it's beautiful. So yeah, I was so pleased with how it came out, I did another one on the top, and then, because it didn't go all the way to the top rim, I added another little piece of a cup like this light-colored.
This is so easy, you barely have to do anything, and they turn out. But this was super easy, and it turned out beautifully in a matte finish. You can see as it dries, it's completely flat, and this is how it turned out. I am in love with this cup. It is pretty simple but also stunning, and I just love it. I love the colors, the style, and the gold lid. It all came together beautifully, and I hope you guys liked it. Don't forget to check out all my other fall videos, and I will see you at the next one. Bye.
Previous post
FAUX-CERAMIC POTTERY MUG Tumbler Tutorial! Day 5 of 10 Days of Fall!
Next post
FOIL LEOPARD AND GOLD MUG Tumbler Tutorial! Day 7th 10 Days of Fall!
Related Posts

DiY Epoxy vs. Artistry Epoxy: What Happened to “Speedy Petey” and What’s the Best Epoxy for Tumblers & Art?
Why You Can’t Find “Speedy Petey” & What Replaced It If you’ve been Googling “Speedy Petey epoxy” and coming up empty, here’s the short...
Nov 06 2025

How Long Does It Take for Epoxy to Yellow (And How to Prevent or Fix It Like a Pro)
How Long Before Epoxy Resin Turns Yellow? One of the most common questions in the epoxy art and crafts world is: “How long before...
Jul 08 2025

Top Reasons Why Your Epoxy Is Sticky and How to Avoid Them
Whether you're designing a sparkling glitter tumbler, pouring a stunning river table, or experimenting with colorful resin art, few things are more disappointing than...
Jun 30 2025

Top 10 Epoxy Tumbler Ideas with Glitter, Pigments & More
Crafting epoxy tumblers is one of the most exciting and rewarding trends in the DIY world. Whether you're making a custom tumbler for personal...
Jun 25 2025

How to Mix Epoxy Resin Like a Pro: The Ultimate Guide for Tumbler Artists & DIY Crafters
Epoxy resin is a total game-changer for DIY crafters—especially tumbler makers who love that smooth, glass-like finish. But even the most creative designs can...
Jun 22 2025

BRIDAL Tumbler Tutorial using Shape Tape Double sided adhesive sheets!
Today, we're diving into a fun DIY project: creating a beautiful bride cup using a few of our favorite products, including shape tape, epoxy,...
May 17 2024

Is Artistry Epoxy good?
In the realm of DIY projects, home renovations, and artistic endeavors, epoxy resin has emerged as a versatile and captivating medium. Among the myriad...
Mar 27 2024